In the post Hello, React! with Notepad on Windows 10 I inserted all the JavaScript into a <script>-Element. In this post I’ll insert it into an own index.js file.
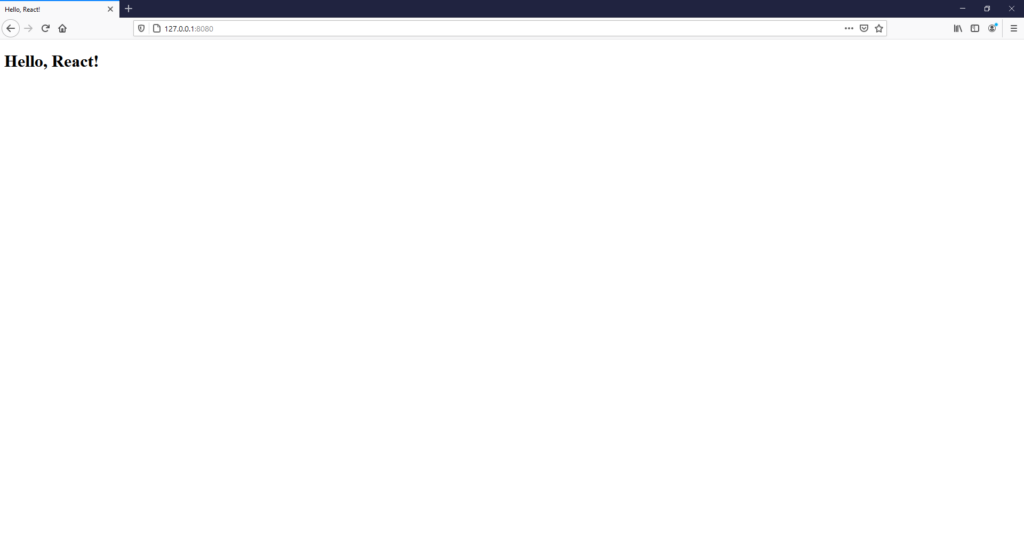
As you may can see in the picture above I use a local server to open the file. So to get started create a new folder called “React”, open Visual Studio Code, go into that folder with Visual Studio Code’s Terminal and create the following folder and file structure:
React
├── index.html
├── js
│   ├── index.js
index.html:
<html>
  <head>
    <meta charset="utf-8" />
    <title>Hello, React!</title>
    <script src="https://cdnjs.cloudflare.com/ajax/libs/react/17.0.2/umd/react.development.min.js"></script>
    <script src="https://cdnjs.cloudflare.com/ajax/libs/react-dom/17.0.2/umd/react-dom.development.min.js"></script>
    <script src="https://cdnjs.cloudflare.com/ajax/libs/babel-standalone/6.26.0/babel.min.js"></script>
    <script src="https://127.0.0.1:8080/js/index.js" type="text/babel"></script>
  </head>
  <body>
    <div id="root"></div>
  </body>
</html>
js/index.js:
const Greeting = ({name}) => <h1>Hello, {name}!</h1>;
ReactDOM.render(
  <Greeting name="React" />,
  document.getElementById('root')
);
Back in Visual Studio Code’s Terminal insert the following command from within the created “React”-folder:
npx http-serverThis will download and start a local http server. While this http server is running open a browser and point that browser to http://127.0.0.1:8080/index.html.